
Getting Started
Overview
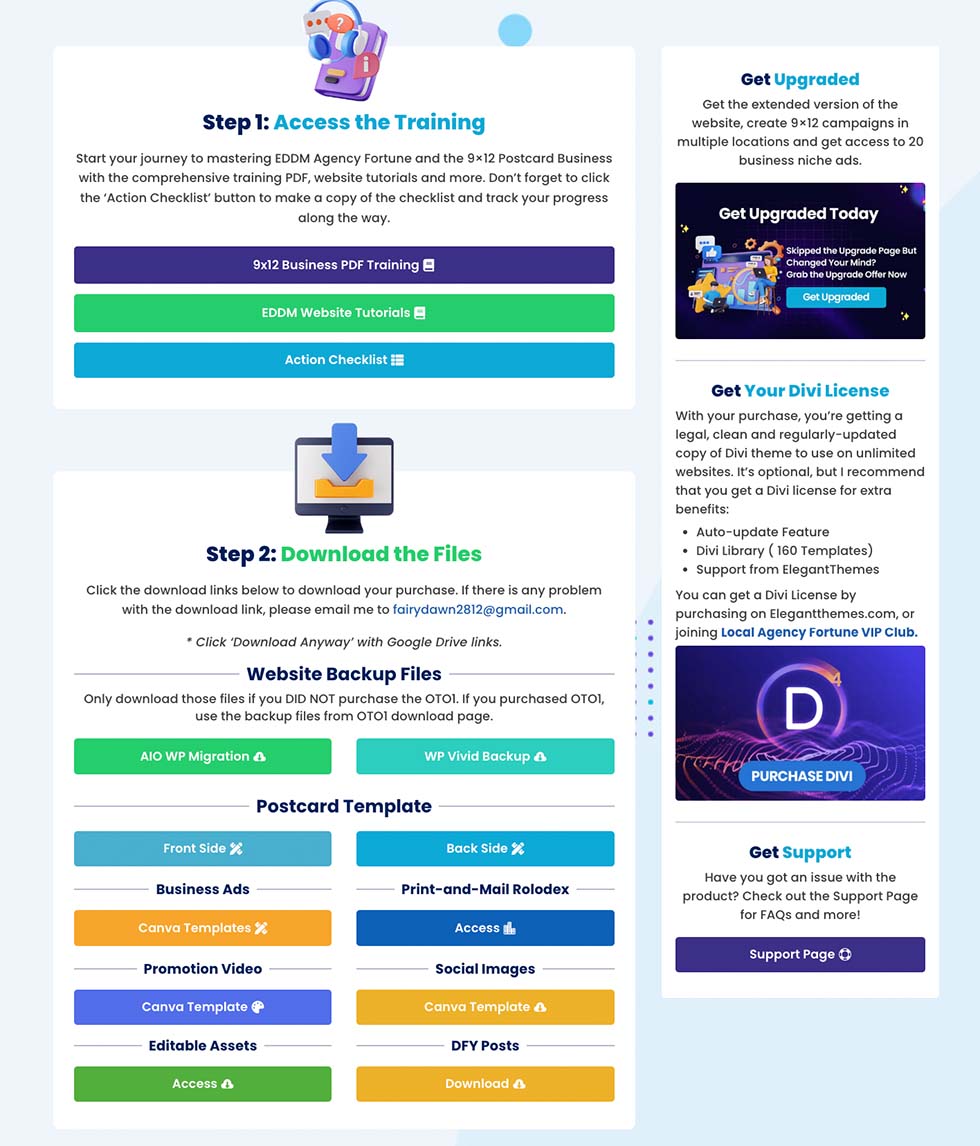
If you’re familiar with All-in-One WP Migration, you can simply click the ‘AIO WP Migration’ button to download the .wpress file and proceed with installation.
However, if you’re new to this process, I recommend using WPVivid. Its backup files are more lightweight, and in my experience, it offers better compatibility across different hosting environments.
Installing the EDDM Agency Website with WPVivid Backup
To install the review site using WPVivid Backup Plugin, follow these steps:
– Navigate to the WordPress Dashboard, go to ‘Plugins‘, and then click on ‘Add New‘.
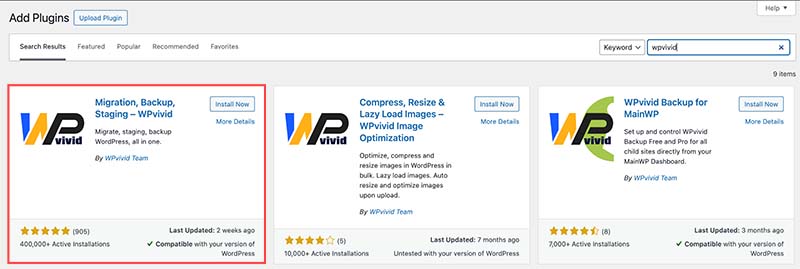
– In the plugin search bar, type ‘WPVivid‘ or ‘WPVivid Backup.
– Find the plugin in the search results, click ‘Install‘, and then ‘Activate‘ it.
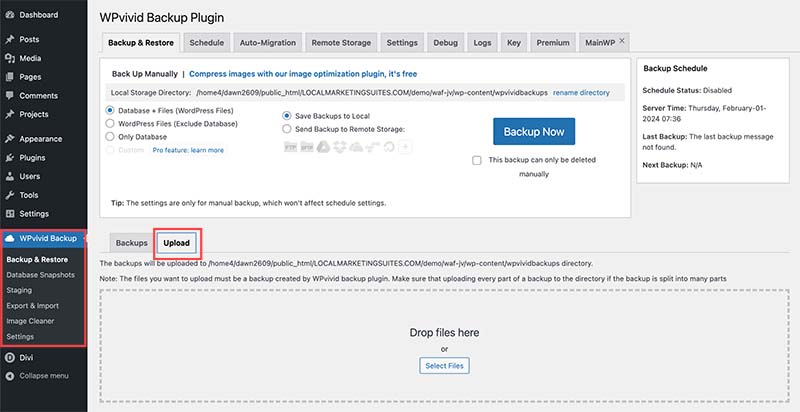
– Browse your computer for the import file you downloaded from the EDDM Agency Fortune download page, select it, and start the import process.
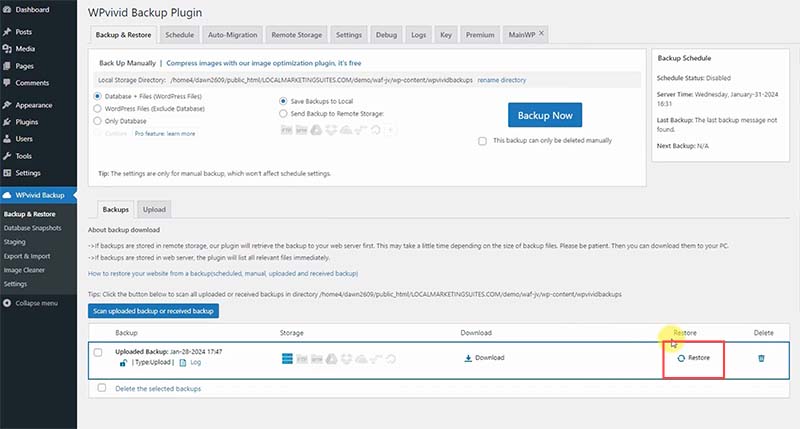
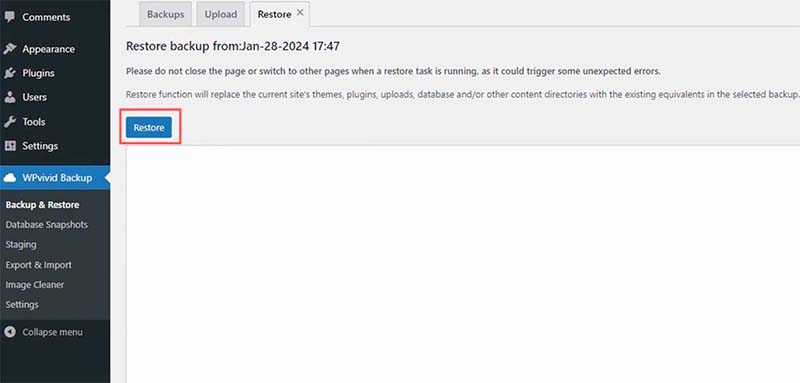
– After uploading the file, click ‘Restore’ to proceed with the backup.
– When the installation process is complete, you will be redirected to the WordPress login page. You will have to use the credentials below to login:
Password: S3n7t03v3rYh0u5e
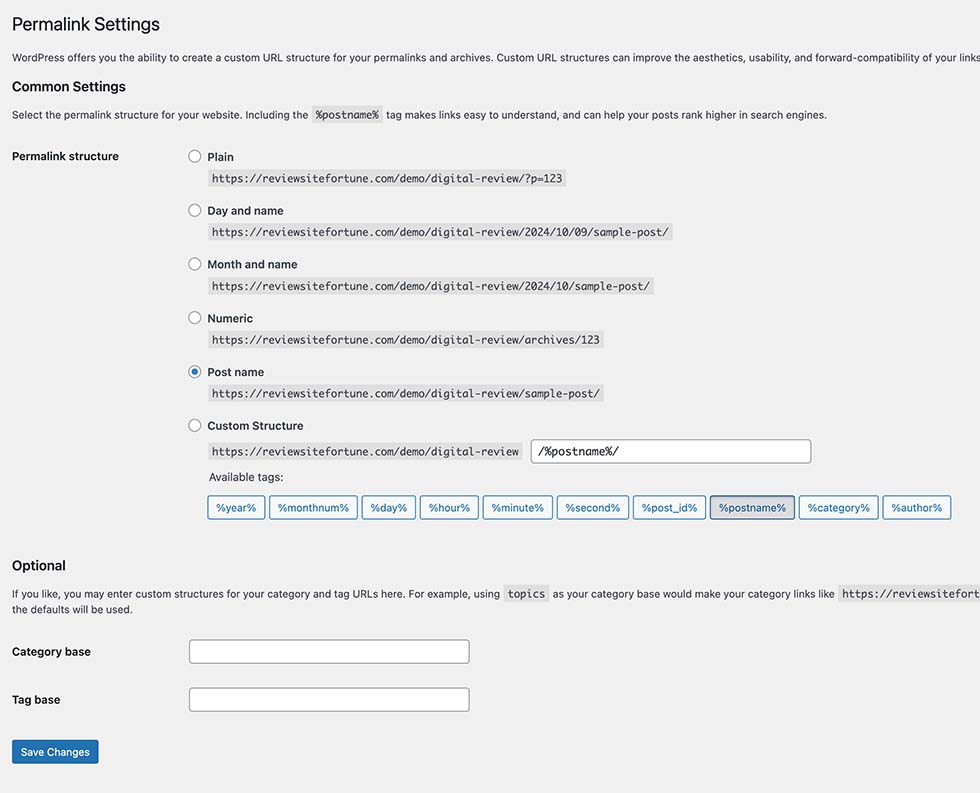
– After you log back into your WordPress site, the first action you should take is to navigate to ‘Settings’ and then select ‘Permalinks’. Once there, make sure to click on ‘Save Changes’ twice. This step is essential for ensuring that the permalink structure of your new site is properly set up and functioning correctly.
Installing the EDDM Agency Website with All-in-One WP Migration
To install the review site using All-in-One WP Migration, follow these steps:
– Navigate to the WordPress Dashboard, go to ‘Plugins‘, and then click on ‘Add New‘.
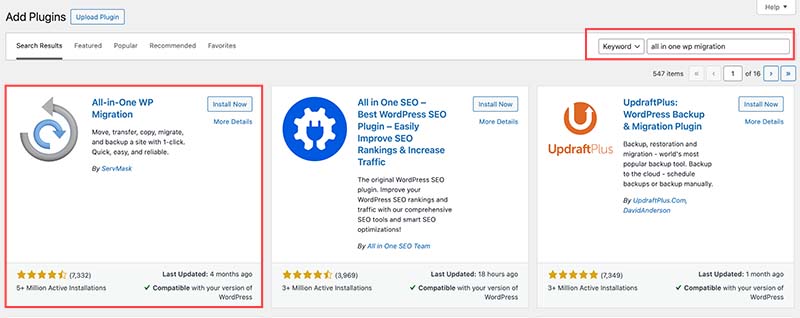
– In the plugin search bar, type ‘All-in-one WP Migration‘.
– Find the plugin in the search results, click ‘Install‘, and then ‘Activate‘ it.
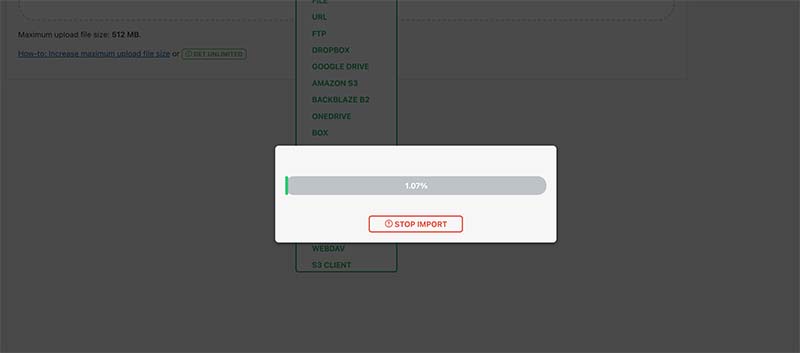
– Browse your computer for the import file you downloaded from the EDDM Agency Fortune download page, select it, and start the import process.
Password: S3n7t03v3rYh0u5e
– After you log back into your WordPress site, the first action you should take is to navigate to ‘Settings’ and then select ‘Permalinks’. Once there, make sure to click on ‘Save Changes’ twice. This step is essential for ensuring that the permalink structure of your new website is properly set up and functioning correctly.

After completing the installation process, it’s important to revisit the backup plugin and delete the backup file. This step helps conserve disk space on your server, ensuring your site runs smoothly without unnecessary data clutter. Whether you used All-in-One WP Migrationor WPVivid, removing the backup after installation is an essential maintenance step.
Website Overview
Now that your site is set up, it mirrors the demo seen on the sales page. Here’s what you need to know:
Your site is powered by the Divi theme and comes equipped with a number of default plugins right out of the box. This setup is carefully crafted to offer you a solid, ready-to-use website with essential functionalities from the get-go. Each plugin serves a vital role in the functionality of your website and cannot be removed.
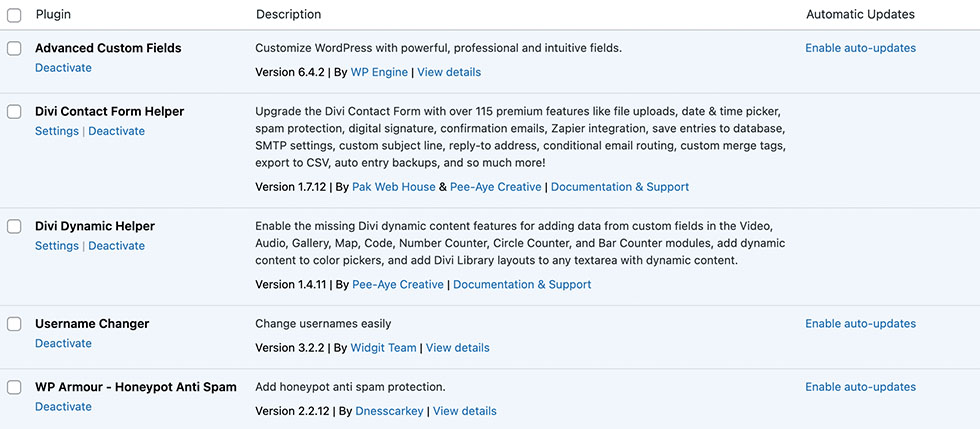
1- Advanced Custom Fields: Create custom fields that help you edit the EDDM Campaign details from the backend.
2- Divi Contact Form Helper: Enhances the functions of contact forms and helps save contact form entries to your site’s database.
3- Divi Dynamic Helper: Helps enhances the dynamic content function.
4- Username Changer:Lets you change the default username to your preferred one.
5- WP Armour: Offers protection against bot-driven spam on your contact forms, safeguarding your site’s from spamming bots.
Changing Admin Emails
1- Change Admin User
– Go to ‘Users’ and click ‘Edit’ on the ‘ postcardadmin’ username.

– Navigate to ‘Username’ and click the ‘Change Username’ button.
– Enter your preferred username.
– Login again to verify your username.

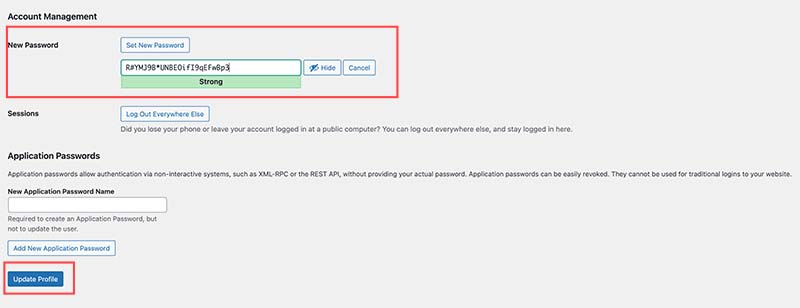
– Scroll down to update the password.
– Click ‘Update Profile’ to secure your new credentials.
– After changing your admin username, you can go to Plugins and delete the Username Changer plugin.
2- Change WordPress admin email
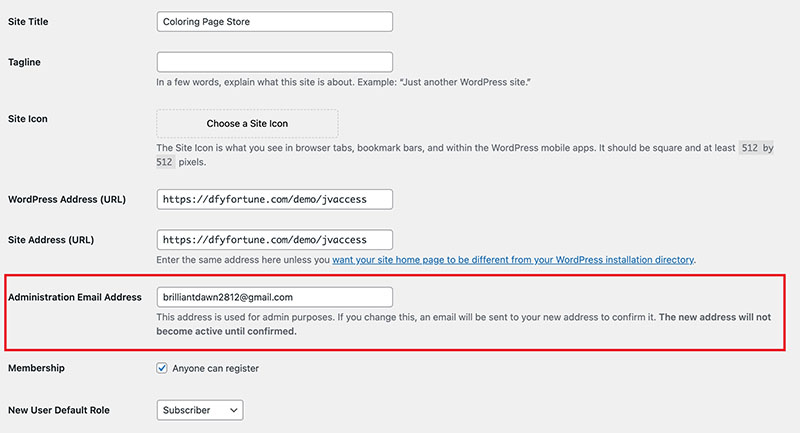
– From your WordPress Dashboard, navigate to Settings > General.
– Change the ‘Administration Email Address‘ to the email address you use to receive main contact form entries and operational emails.
– Check the inbox of the email you’ve entered for a confirmation email.
*IMPORTANT* To change your admin email address, your website should have SMTP enabled. SMTP, which stands for Simple Mail Transfer Protocol, is an essential feature that ensures your website can send all kinds of emails for operational purposes such as email changes, user registration, posts pending review, security issues, etc,.. If you change the admin email address but don’t receive the confirmation email, you’ll need to contact your hosting provider to ask for help with enabling SMTP.
