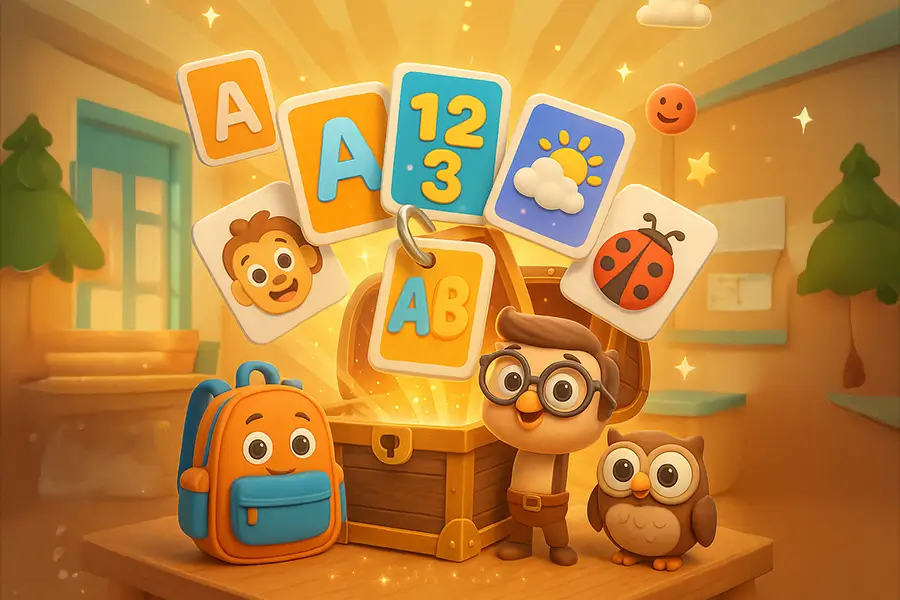
Creating engaging educational videos doesn’t have to be complicated or time-consuming. With the right tools, you can transform a simple idea into a polished video that keeps kids interested, supports learning, and adds real value to classrooms or at-home lessons. That’s exactly why we provide ready-to-use Canva templates with our digital resources — to make the process easy, affordable, and beginner-friendly.
In this guide, we’ll walk you through how to use our Canva template to create educational videos step by step, even if you’ve never made a video before.
Why Canva for Educational Videos?
Canva is a free, web-based design tool that’s easy to use and doesn’t require technical skills. With Canva, you can:
- Access professional layouts and drag-and-drop editing.
- Add your own text, images, and animations.
- Export videos in high-quality formats to use on YouTube, social media, or inside your digital lessons.
By starting with one of our templates, you save hours of setup time. The fonts, colors, and layouts are already designed for kids’ learning — you just need to add your content.
Step 1: Access the Template
After purchasing one of our educational video packs, you’ll receive a Google Doc that includes links to open the Canva template.
- Click the link provided in your access document.
- Choose “Use Template” in Canva.
- The template will automatically copy to your Canva account, ready for you to edit.
If you don’t already have a Canva account, sign up for free at canva.com. A free account is enough for most users, though Canva Pro adds access to premium images, music, and elements.
Step 2 (Optional): Customize the Content
The template includes ready-made slides with placeholders for text, images, and icons. To customize:
- Edit Text: Double-click any text box to replace it with your own lesson titles, key points, or instructions. Keep text short and clear for younger audiences.
- Change Images: Upload your own pictures, use Canva’s free image library, or insert illustrations from your printable packs to match the lesson theme.
- Add Icons or Characters: Canva’s Elements tab lets you insert arrows, shapes, or even fun characters to make the video more lively.
Tip: Stick with large fonts and bright visuals to make the video easy for kids to follow.
Step 3 (Optional): Add More Elements As Needed
Educational videos are most engaging when they combine visuals with movement and sound. Canva makes this simple:
- Animations: Select any element and choose “Animate” to apply fade-ins, slides, or pop effects. Use sparingly so the video feels dynamic but not distracting.
- Music & Narration: Upload your own narration file, or choose background music from Canva’s audio library. Light, upbeat tracks work well for kids.
- Page Transitions: Apply smooth transitions between slides to guide kids through the lesson naturally.
Step 4: Export Your Video
Technically, you can jump straight from step 1 to step 4.
- Click Share in the top-right corner of Canva.
- Choose Download → MP4 Video.
- Select “All pages” to export the entire video.
Your video will be ready to upload to YouTube, play in your classroom, share with parents, or post on social media.
Extra Tips for Success
- Reuse Templates: Each time you want a new video, make a duplicate of the template and swap the content. You can quickly create a whole library of lessons.
- Combine With Printables: Use our matching coloring pages, posters, or worksheets as companion materials. Kids can watch the video, then practice with printouts.
- Engage Kids Actively: Include prompts like “Pause the video and try this!” or “Raise your hand if you know the answer.” It makes the video interactive even without live teaching.
- Brand Your Videos: If you’re a teacher, add your name or school logo. If you’re selling resources, brand them with your business name to build recognition.
Final Thoughts
Educational videos don’t have to take hours of editing or expensive software. With our Canva templates, you can start creating professional-looking videos in minutes — even if you’re a complete beginner. Just open the template, customize it with your content, and export a ready-to-use video.
Whether you’re a parent helping your child, a teacher preparing lessons, or a business owner creating digital products, this is one of the easiest ways to add engaging educational videos to your toolkit.


0 Comments